Ouster Lidar
Prerequisites
Download Ouster studio in the Ouster download page
Step-by-step process
Visualize data in Ouster Studio
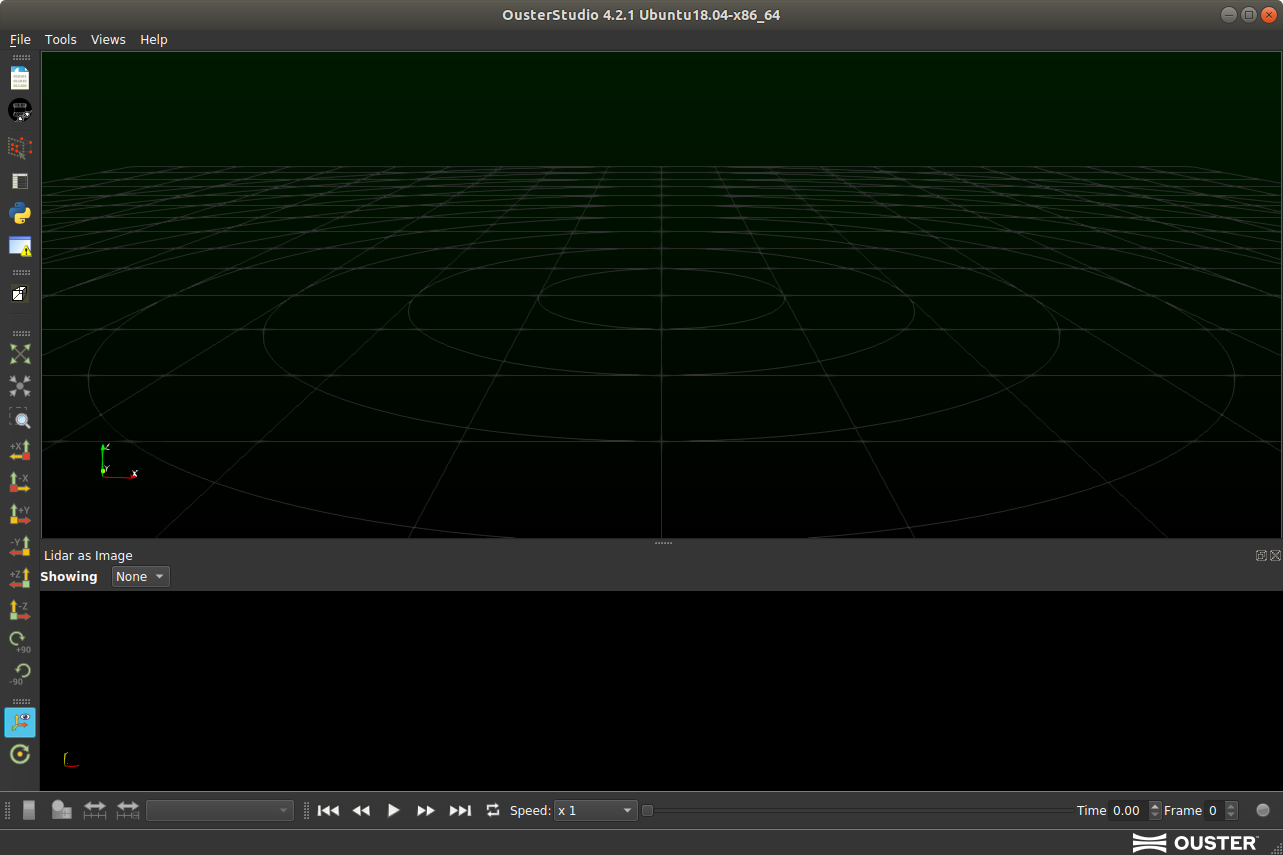
Step 1: Open the Ouster studio
Step 2: Set up the Ouster Lidar parameters
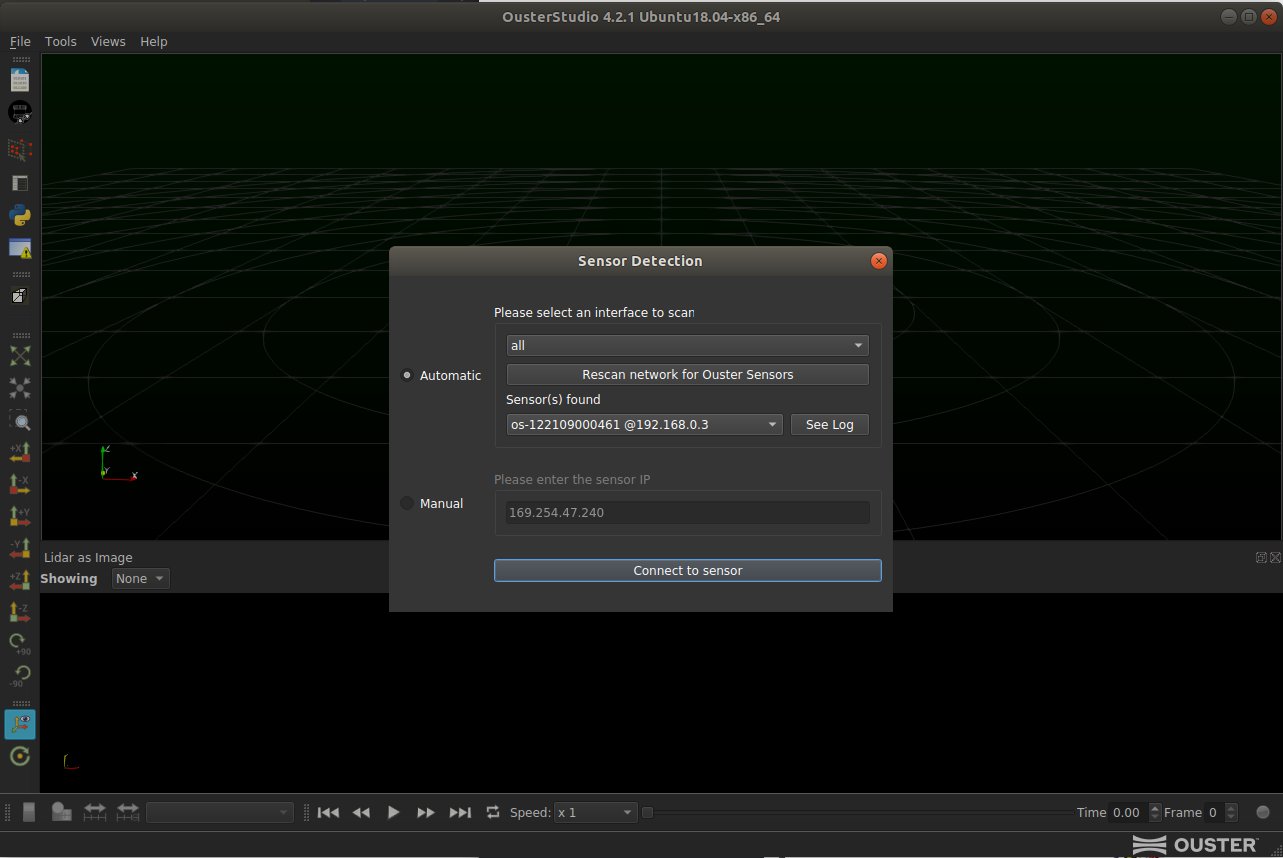
After plug in the lidar to laptop, you should be able to see:
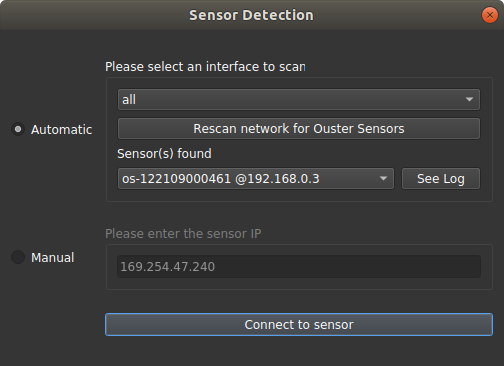
For Windows, you can keep the default sensor option as shown in the following window:
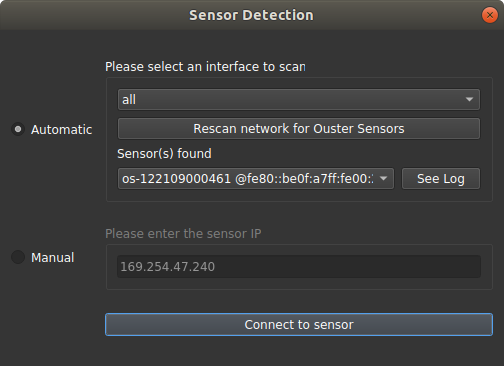
For Linux, you need to select the other sensor option as shown in the following window:
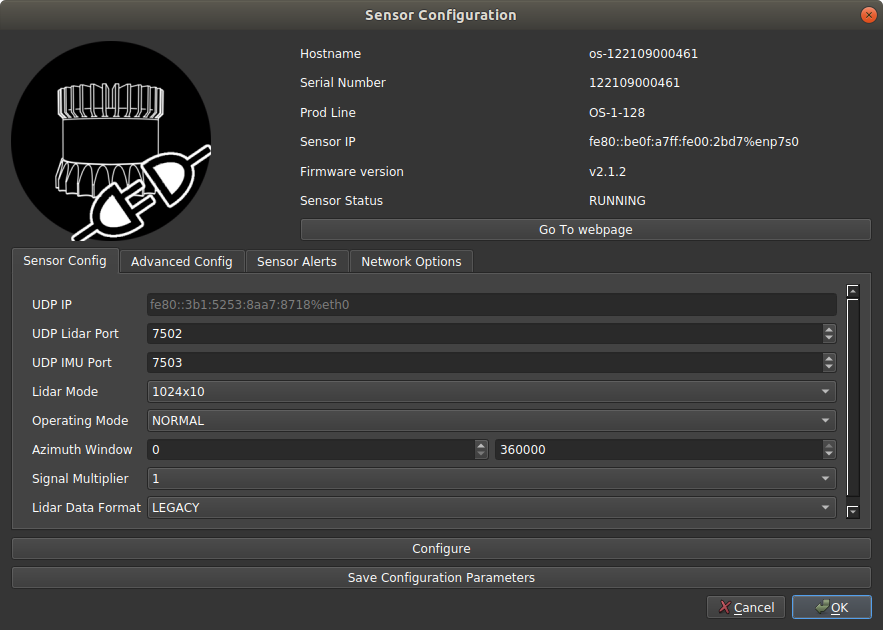
After you click connect to sensor, you should be able to see the following window:
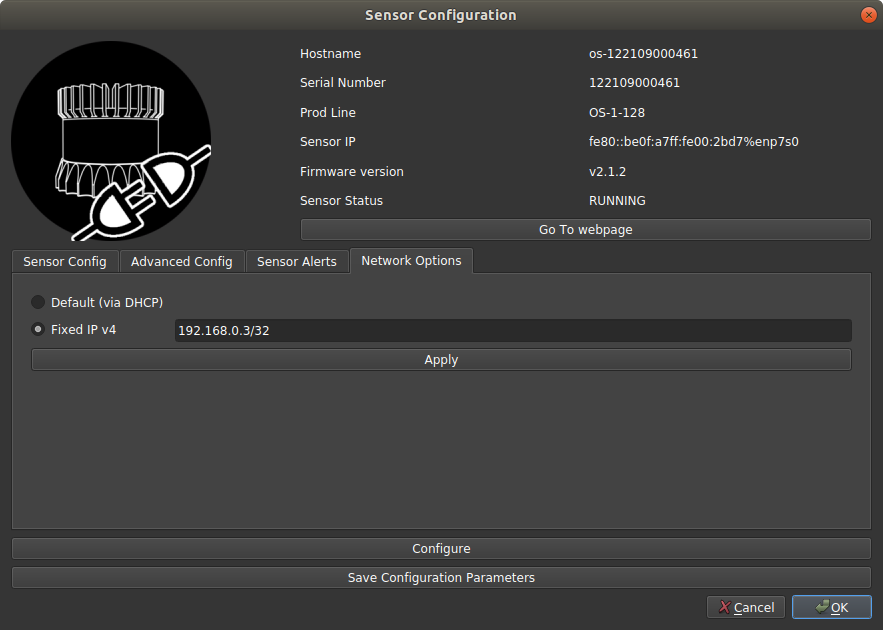
As default, the Ouster Lidar is the dynamic IP, therefore, we need to setup the Lidar wire connection to be fixed IP, which can be done in the Network Options:
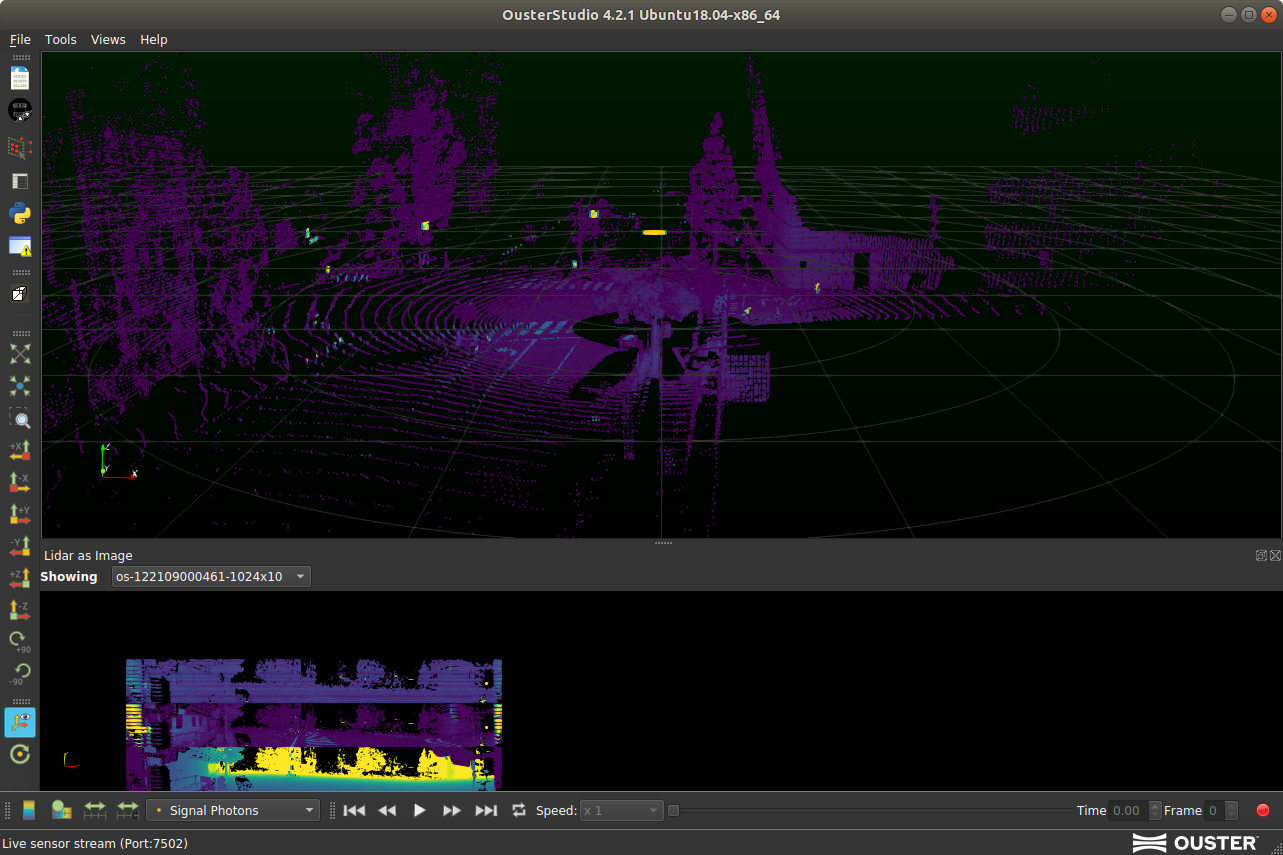
After click OK, you should be able to see the Pointcloud shown in the window:
Note
Note For more details, check Getting started with Ouster Studio Video
Visualize data in ROS
Step 1: Set up fixed IP
Set the ouster lidar IP to fixed IP address in the Ouster Studio, like 192.168.0.3
Step 2: Set up laptop IP
Set the laptop connection IP address as they are in the same network, for example: 192.168.0.2, this cannot set to be the Ouster Lidar IP(192.168.0.3)
Step 3: Install Ouster SDK
Follow the ouster SDK tutorial and install ouster-sdk at your system.
Note
Note The Ouster Python SDK binary packages require Python >= 3.7 and pip >= 19.0 on most platforms. On Ubuntu 18.04, the default Python 3 version is is 3.6, so you’ll have to install and use python3.7 explicitly. On Apple M1, you’ll need need Python >= 3.8.
Step 4: Install Ouster ROS
Follow the instruction in the ouster-ros git repository and install the corresponding dependencies.
For more details, please check their document website.
To compile the ros pkg, use the following command:
catkin_make -DCMAKE_BUILD_TYPE=Release
Step 5: Launch ouster ROS
Use the following command to launch ouster sensor and publish its data as ROS topics:
roslaunch ouster_ros sensor.launch sensor_hostname:=<sensor ip address> timestamp_mode:=<timestamp_method>
Where: sensor_hostname:=<sensor ip address> can be the IP of the sensor, in our case, is 192.168.0.3.
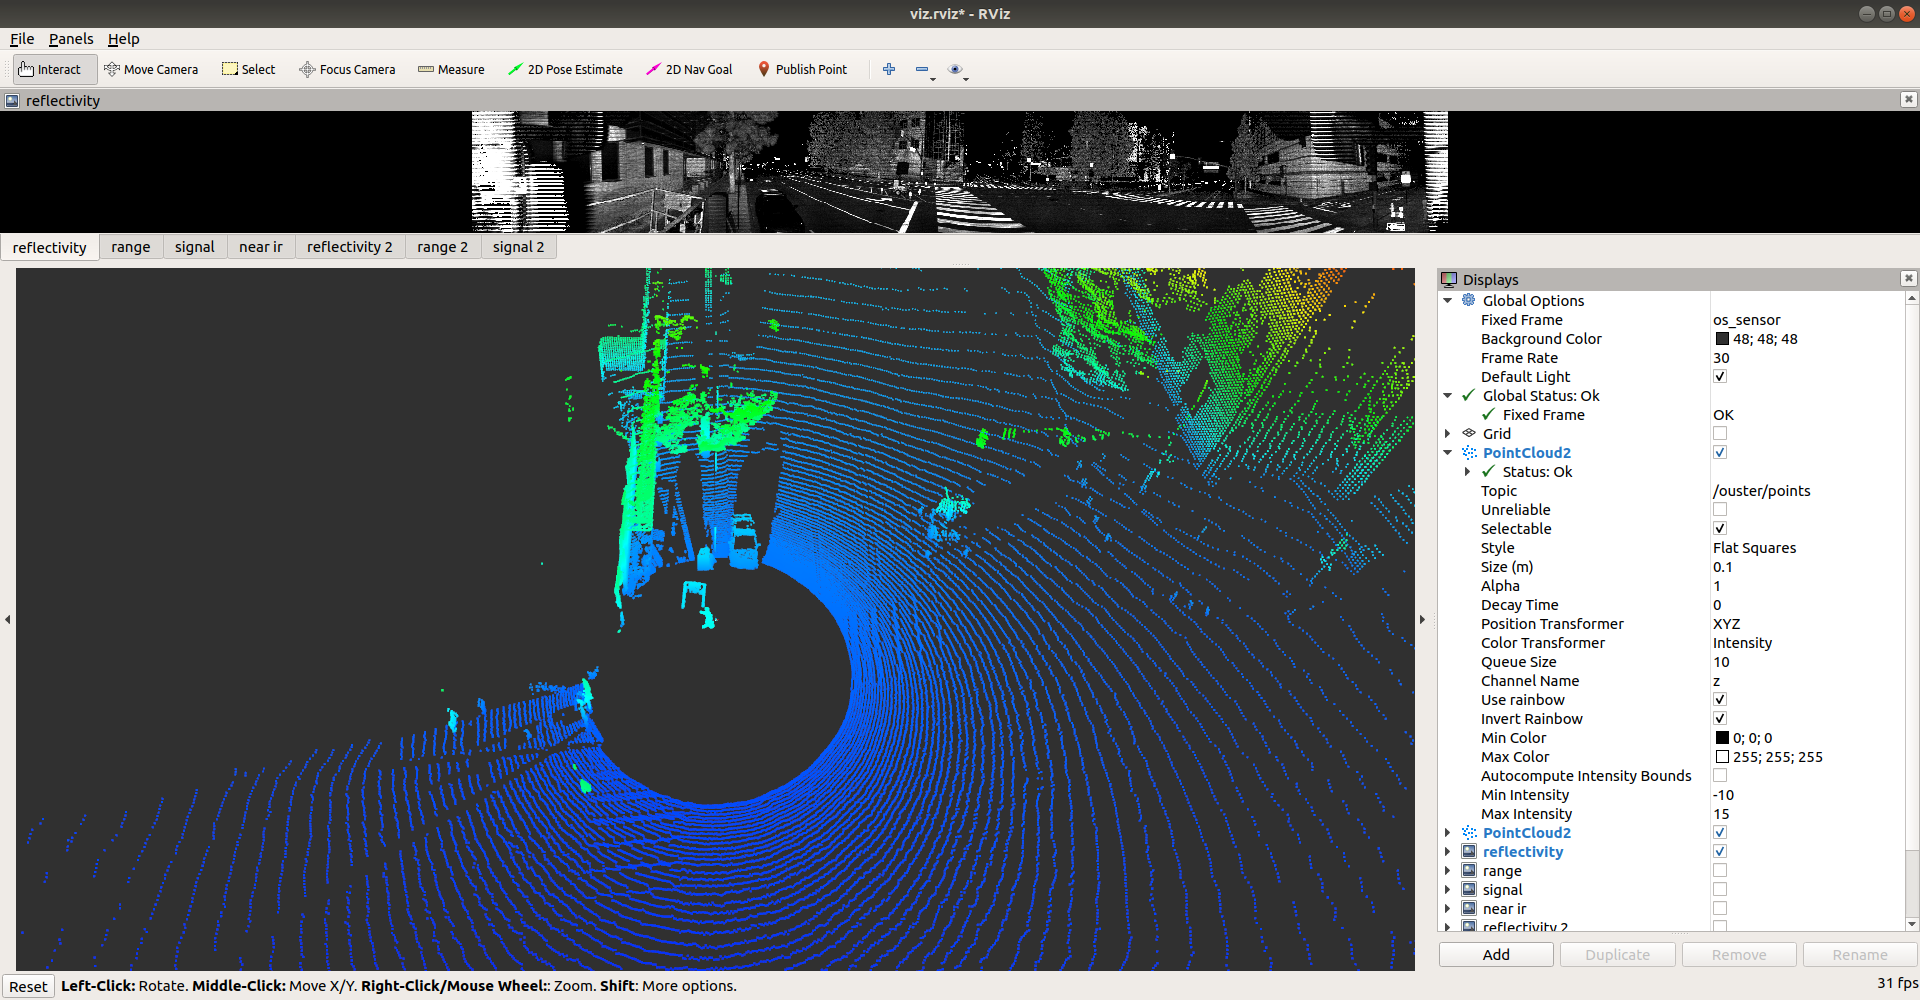
You should be able to see the following rviz:
Reference
[1] ouster firmware user manual
[2] ouster sensor documentation website